Projection options to brighten your space: creative projection ideas for Ireland
Projection options make a big impact with little fuss. They let you turn a wall, window, or even a TV into a living scene. If you want a cosy mood for a party, or a bright display for a shopfront, projection is fast and flexible. In the following sections I show practical choices. I cover gear, placement, materials, and quick wins for any space in Ireland. You will find hands-on tips and a simple checklist to get started tonight.
Why choose projections over other lighting tricks
Projection options are great because they give a high visual return for a small setup. They do not need heavy installations. You can move a projector, change the image, and test looks in minutes. You can use the same kit for a Christmas window, a cosy living room scene, or a small public event. The tech is forgiving. A bright projector works on plain, light walls. Back projection films make windows glow. Thin nets create magic in the middle of a room. A smart TV can play animations with no fuss. These methods save time and keep your space flexible. You can test images during daylight or at night. They suit flats, cafés, or shopfronts across Irish towns. You can work on a budget or go full-immersion. The advice below helps you match your idea to the right hardware and surface. If you want quick mood changes, projections beat paint and fabric. If you want to wow passers-by, a window projection gives a strong curbside pull. For intimate scenes, a wall projection makes a room feel larger and warmer. Overall, projections let you prototype looks fast and cheaply. They also allow seasonal swaps without long-term change.
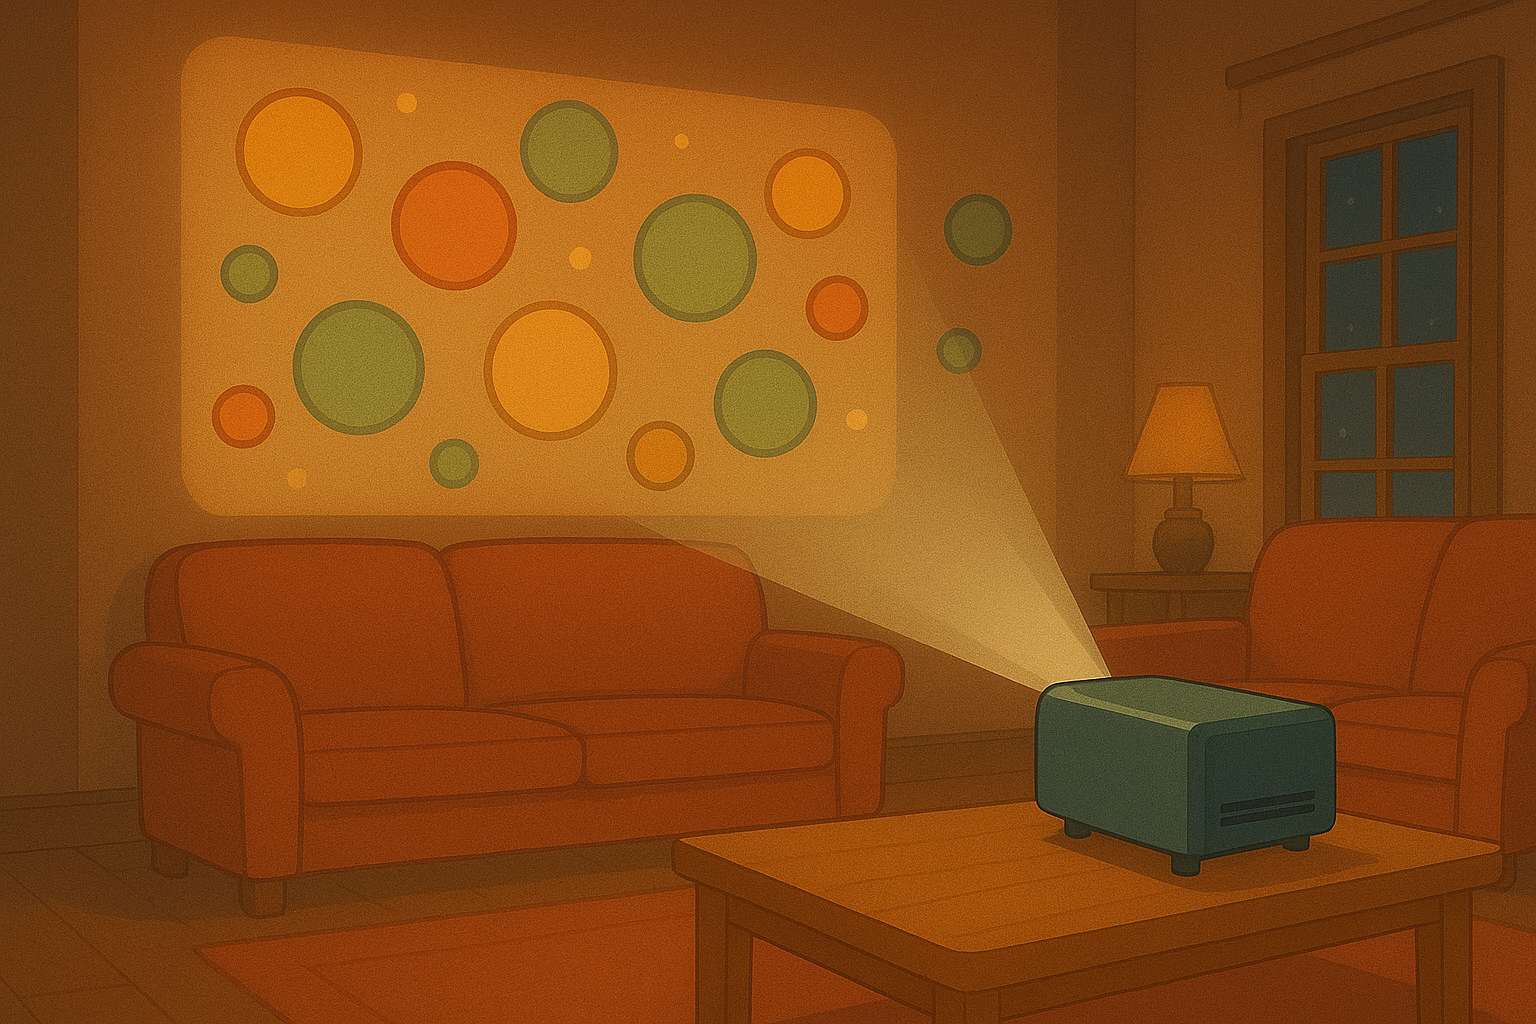
Wall projection: how to make a large, immersive scene
Projection options on a wall suit wide, light surfaces. They create a broad, immersive picture that fills the eye. Start with a plain wall that is light in colour. Avoid strong textures and busy wallpaper. They break up the image. Use a projector with enough lumens for your room size. Higher lumens beat ambient light. Short throw projectors work well in small rooms. They let you place the device close to the wall. Long throw models are fine for halls or outdoor shows. Place the projector so its lens is level with the center of the image. This reduces keystone distortion. You can correct small shifts with the projector's keystone or lens shift tools. Use a tripod or ceiling mount for stability. Set the projector to native resolution for the cleanest picture. Choose animations or loops that match your mood. Slow, subtle motion feels calm. Fast changes feel festive. Keep audio separate if you want sound. An external speaker is easy to add. Test the setup at the time you will use it. Light levels at dusk differ from late night. Make small tweaks and save them. Finally, protect your gear from moisture if you project outdoors. A simple cover or canopy can make your kit last longer in Irish weather.
Window projection: drawing attention from the street
Projection options for windows give strong curb appeal. They let you show visuals to people outside while keeping the interior cosy. The key is back-projection film or a frosted surface. Back-projection film sticks to the glass and turns the pane into a screen. It makes images bright and clear for viewers on the street. Use a projector placed inside, aimed at the film. Angle it so the image covers the display area evenly. For storefronts, choose high-contrast graphics and clear motion. Keep scenes readable at a glance. During the day, raise brightness or use bold visuals. In the evening, softer animations and warm tones attract a calmer crowd. If you want to keep interior views private, use blackout curtains behind the film. For festive windows like Advent displays, sync simple loops with a timer. You can run animations every hour to catch passers-by. Wiring is easy: a short cable, a small media player, or a streaming stick is all you need. Protect the projector with a small shelf or box to hide cables and keep things tidy. Test from the street to make sure sightlines and scale work. Small changes in distance change how crisp the image looks. A test walk outside is the fastest way to be sure your display reads well to foot traffic.
Floating nets and TV display: magical mid-air effects and easy setups
Projection options for floating nets create an almost ghostly, suspended display. Hushed fabrics like gauze or thin netting catch light in a dreamy way. Use a projector from the side or from above. The image will seem to float inside the net. Keep the fabric taut to avoid ripples. Soft, slow motion maps best to these surfaces. Small LED uplights behind the net add depth. The result feels like magic in the room. For a simpler route, use your TV for crisp loops and animations. Many modern TVs take HDMI or streaming sticks. You can play files from a stick or use an app from your phone. A TV gives better colour and contrast in bright rooms. It is great for close-up shows and smaller spaces. Use TV if you want instant setup with no alignment work. Use netting when you want an airy, layered effect. Combine both when you want depth: a distant TV scene with a net in front can add texture. In pubs or small venues, this combo gives a professional feel without heavy duty gear. Keep cables tidy. Choose safe mounts and test for overheating. A clean, simple setup lasts longer and looks better.
Practical checklist and tips for setups in Ireland
Projection options work best when you plan a little before you switch anything on. Choose a projector with enough brightness and the right throw for your room. Pick surfaces that match the projection type: plain walls for wall projection, back-projection film for windows, and thin nets for floating scenes. Secure mounts and tidy cables for safety. Keep power points and weather protection in mind if you go outside. Test your image at the time of day you will show it. Adjust brightness and contrast for ambient light. Use loops that match your audience—gentle motion for dining customers and bolder visuals for shop windows. Have a playlist or USB drive ready for quick changes. Use a streaming stick or media player for remote control via an app. Label cables and keep a spare cable or adapter on hand. For events, plan a short rehearsal to check sightlines and volume. Offer clear signage so people know what they see. If you need permission for a public display, contact local councils early. When in doubt, start small. A single projector and a simple loop can transform a room. Expand later if it delights your visitors. Projection work is flexible and forgiving. With a few small choices you can make something truly memorable tonight.
Popular projections